Skip to content

The Decorating Almanac

Vintage Halloween Decor

Old-fashioned Halloween decorating was built from paper, produce and candlelight. Below are the porch, table and handmade paper ideas that give a house that 1930s–1940s haunted look — each one with the materials and steps you need, and nothing that requires a warehouse store.

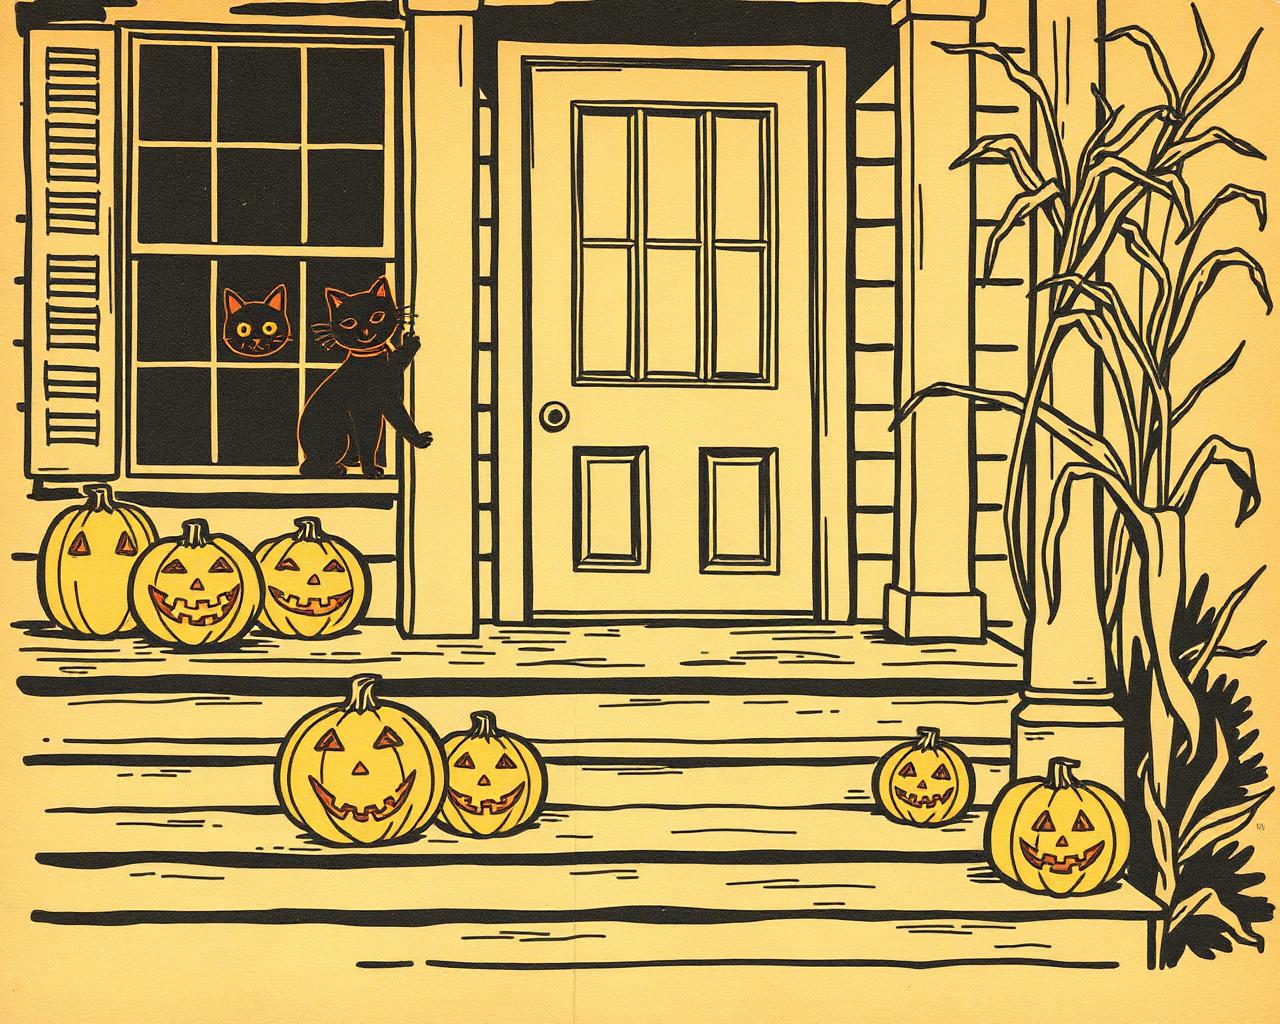
Vintage letterpress illustration of a Halloween porch with jack-o-lanterns, paper black cats in the window, and corn stalks

Vintage Porch & Doorway Decor

The porch is the first page of the story. Old-fashioned Halloween decorating leaned on what the harvest gave you — corn stalks, gourds, lanterns and a little candlelight — rather than plastic and floodlights.

Candle-Lit Lantern Steps

A staggered row of jack-o'-lanterns and glass hurricane lanterns climbing the front steps, the way 1930s porches were lit.

What you need

  • 3–5 pumpkins in mixed sizes
  • 2 glass hurricane lanterns
  • Battery tea lights or short pillar candles
  • Twine and dried corn husks

How to do it

  1. Carve simple triangle-eye faces — vintage jack-o'-lanterns were crude on purpose.
  2. Alternate carved and uncarved pumpkins so the row reads as a curve, not a line.
  3. Set hurricane lanterns on the top and bottom step to bookend the display.
  4. Tie corn husks around the porch posts with twine to frame the doorway.

Die-Cut Paper Cats in the Windows

Black cutout cats and crescent moons taped inside the glass throw silhouettes at dusk — the cheapest and most authentic vintage trick there is.

What you need

  • Black cardstock
  • Craft knife and cutting mat
  • Removable tape
  • A warm lamp behind the window

How to do it

  1. Sketch arched-back cats, owls and a crescent moon on cardstock.
  2. Cut them out and tape them facing outward on the inside of the glass.
  3. Place a lamp with a warm bulb three feet behind the window.
  4. Turn the lamp on at dusk so the silhouettes read from the street.

Corn Stalk & Gourd Bundle

Two bundles of dried corn stalks flanking the door with gourds heaped at the base — pure 1940s harvest-night styling.

What you need

  • 6–8 dried corn stalks
  • Jute rope
  • Assorted gourds and small squash
  • A wooden crate or bushel basket

How to do it

  1. Split the stalks into two bundles and tie each tightly with jute.
  2. Lash a bundle to each porch post or lean them against the siding.
  3. Tip the crate on its side at the base and spill gourds out of it.
  4. Tuck a few dried leaves into the gaps so nothing looks arranged.
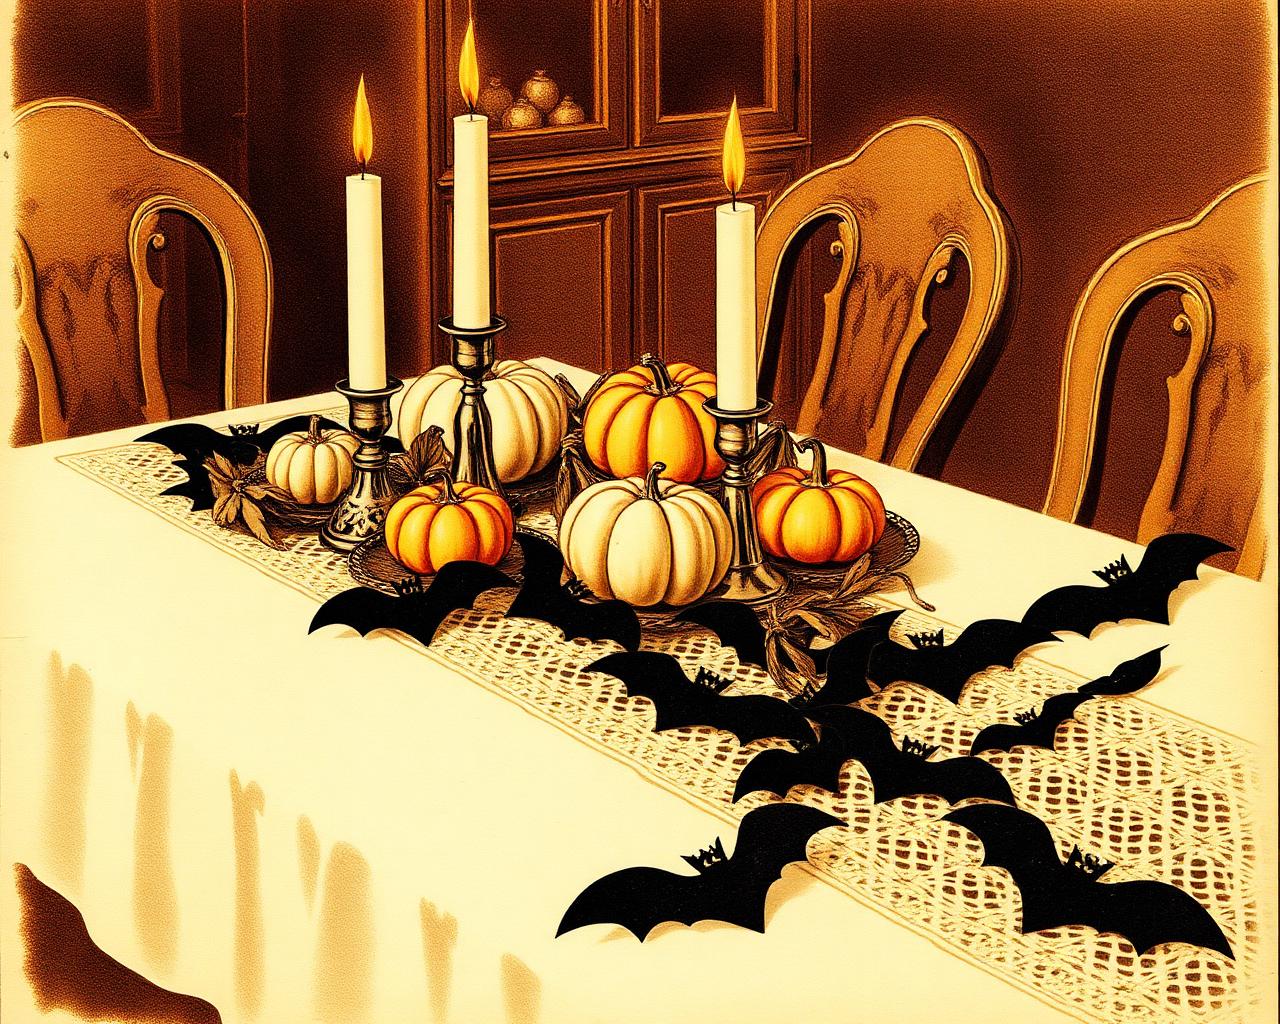
Vintage illustration of a Halloween dining table with candles, white and orange pumpkins, and a black paper bat garland on lace

Indoor & Table Decor

Inside, vintage Halloween decor is candlelight, lace, brass and shadow. Keep the palette to amber, rust and black, and let the flame do the decorating.

The Séance Table

A long lace runner, mismatched brass candlesticks, and a spill of small pumpkins down the center of the table.

What you need

  • Antique or thrifted lace table runner
  • 3–5 brass or pewter candlesticks of differing heights
  • Beeswax taper candles
  • Mini white and orange pumpkins
  • Dried oak or maple leaves

How to do it

  1. Lay the lace runner down the center, letting both ends hang over the edge.
  2. Group the candlesticks off-center in a cluster of three plus a pair.
  3. Nestle the mini pumpkins around the bases at uneven intervals.
  4. Scatter dried leaves last, and skip any other centerpiece.

Paper Bat Garland

A cascade of hand-cut paper bats crossing the table or mantel, sized large to small so the flight reads as depth.

What you need

  • Black construction paper
  • Scissors
  • Black thread and small tape tabs

How to do it

  1. Fold the paper in half and cut a bat so the wings mirror perfectly.
  2. Cut nine bats in three sizes.
  3. Tape the largest at the far end of the run and the smallest nearest the viewer.
  4. Hang a few from thread above the table so they turn in the draft.

Apothecary Shelf

Amber bottles with handwritten labels — Wolfsbane, Graveyard Dust, Bat's Wing — lined along a mantel or bookshelf.

What you need

  • 6–10 amber or clear glass bottles
  • Cream paper and a brown ink pen
  • Weak tea for staining labels
  • Dried herbs, salt, sand and twigs

How to do it

  1. Stain the label paper with cold tea and let it dry wrinkled.
  2. Write the names in a spidery script and glue the labels on crooked.
  3. Fill each bottle with a different dry material so the shelf has texture.
  4. Set a single candle behind the row to light the glass from behind.
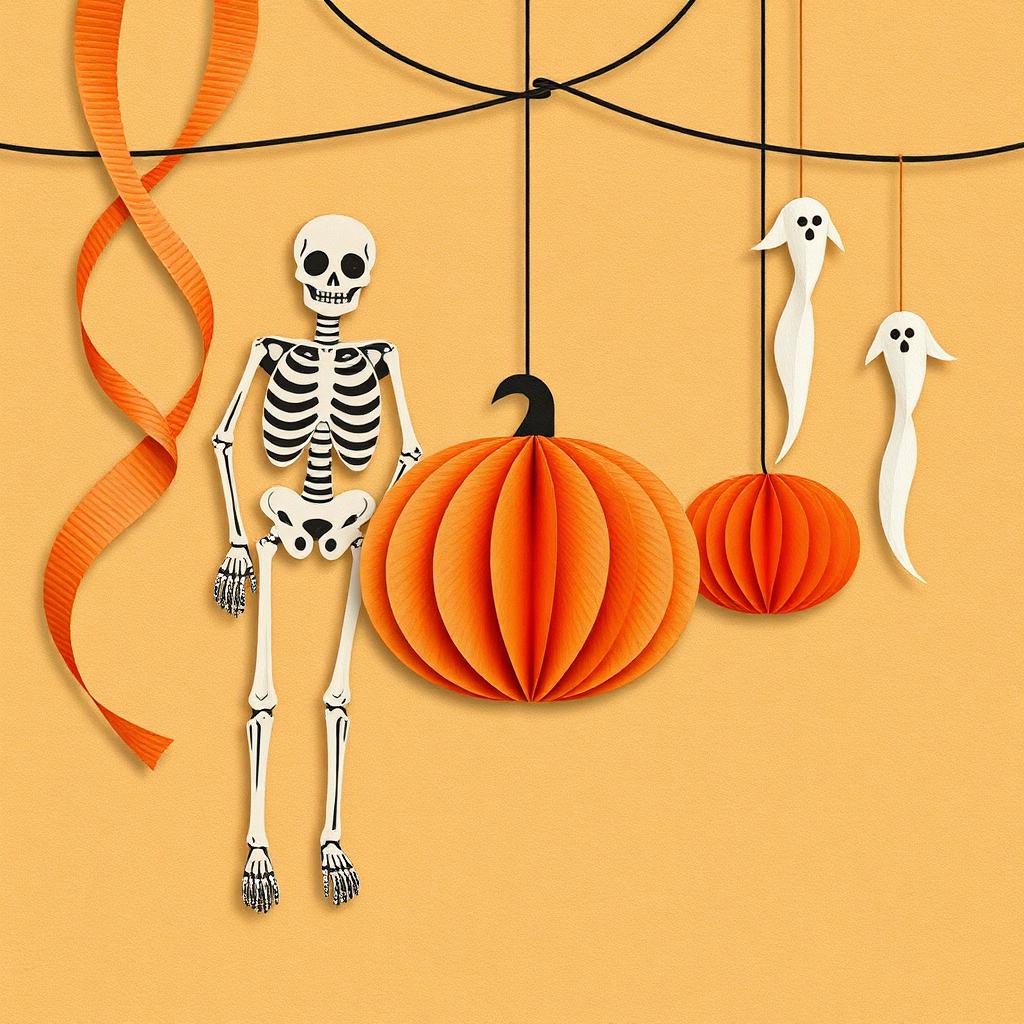
Vintage illustration of handmade Halloween paper decorations: crepe streamers, a die-cut skeleton, honeycomb pumpkin, and tissue ghosts

Handmade Paper Decorations

Before Halloween decor came in boxes, it came in crepe paper and honeycomb tissue. These are the pieces that made vintage Halloween look like vintage Halloween — and they cost almost nothing.

Jointed Die-Cut Skeleton

The classic dancing skeleton with brass-fastener joints, hung on a door or wall so the limbs swing.

What you need

  • Heavy cream cardstock
  • Black marker
  • Brass paper fasteners
  • Hole punch

How to do it

  1. Draw skull, ribcage, pelvis, arms and legs as separate pieces.
  2. Ink the bones with heavy black outlines and cut each piece out.
  3. Punch holes at every joint and connect with brass fasteners.
  4. Hang from the skull so the whole figure dangles freely.

Tissue Ghost Mobile

Weightless tissue ghosts strung at different heights in a doorway or window frame.

What you need

  • White tissue paper
  • Cotton balls
  • White thread
  • Fine black marker

How to do it

  1. Wrap a cotton ball in a square of tissue and tie off the neck with thread.
  2. Draw two small oval eyes and an open mouth.
  3. Cut the trailing tissue into an uneven, tattered hem.
  4. Hang five or six at staggered heights in a doorway.

Crepe Paper Streamers & Honeycomb Pumpkins

Twisted orange and black crepe swagged across the ceiling, with honeycomb tissue pumpkins hung at each dip.

What you need

  • Orange and black crepe paper rolls
  • Store-bought or handmade honeycomb tissue balls
  • Removable adhesive hooks

How to do it

  1. Twist one orange and one black streamer together along their full length.
  2. Run the twist corner to corner across the ceiling, sagging in the middle.
  3. Hang a honeycomb pumpkin at each low point of the swag.
  4. Add a second swag on the opposite diagonal to close the canopy.

Vintage Decor Questions

What makes Halloween decor look vintage?
A narrow palette — amber, rust, black and cream — plus natural and paper materials. Vintage Halloween decor relies on candlelight, crepe paper, die-cut cardstock, corn stalks and gourds rather than plastic props, colored LEDs or blow-molds.
What colors were used in vintage Halloween decorations?
Orange and black dominate, softened by cream, mustard yellow, copper and deep brown. Purple and lime green are later additions and will read as modern rather than antique.
Can I make vintage Halloween decor on a budget?
Yes — most of it is paper and produce. Black cardstock cats, tissue ghosts, crepe streamers, tea-stained apothecary labels and a few pumpkins will build a full display for very little.
How do I decorate a porch in a vintage style?
Line the steps with simple carved jack-o'-lanterns and glass hurricane lanterns, tie corn stalks to the porch posts, spill gourds from a tipped crate, and tape black paper cat silhouettes inside the front windows with a warm lamp behind them.
Are candles safe in Halloween decorations?
Use battery tea lights in anything paper, and keep real flame in glass — hurricane lanterns or votive holders — well away from crepe paper, tissue and dried corn husks.
Set the scene, then tell the tale

Once the lanterns are lit, pour something warm and read a story aloud. Our archive of folklore and our vintage picture room are waiting.